Vacuuming is no one’s favourite chore. With embedded hair in the carpet and crumbs clinging to the kitchen kickboards, it often leaves us sweating by the end. But one thing that can make matters worse is a smelly vacuum.
Vacuums vent the air they suck in after the residue has been collected and it’s passed through the filter. The trouble with this is, if your vacuum smells, you’re essentially blowing that aroma around your home as it runs. The result is a lingering smell that dwells for hours at a time. And no matter what we do, it’s there every time we pick up the vacuum.
Before you run out and buy a new machine, there are ways to get rid of this smell once and for all. In fact, we’ve found 7 ways you can get your vacuum smelling as if it were new again. Here’s what you need to do.

A note on essential oils
Before we begin, some sites recommend using essential oils to make your vacuum smell fresher, either by applying it via cotton balls into the canister or directly onto the filter. We do not recommend doing this. According to Asaph Ooi, Head of Product Programmes for Floorcare at Dyson:
“While we love the idea of finding ways to reduce bad odours in your home, we would never recommend intentionally including large foreign objects in the bin of a Dyson vacuum, as it could reduce the functionality of the primary cyclone and cause a loss of suction power.
“We also do not recommend that owners expose their machines to any liquid including water or essential oils. Owners should refer to the instructions in the manual provided with the machine upon purchase, as usage of their machine outside of what it’s designed to do may void their guarantee.”
So stick to the below steps if you want your vacuum to last longer and keep performing as it should.
Clear any blockages
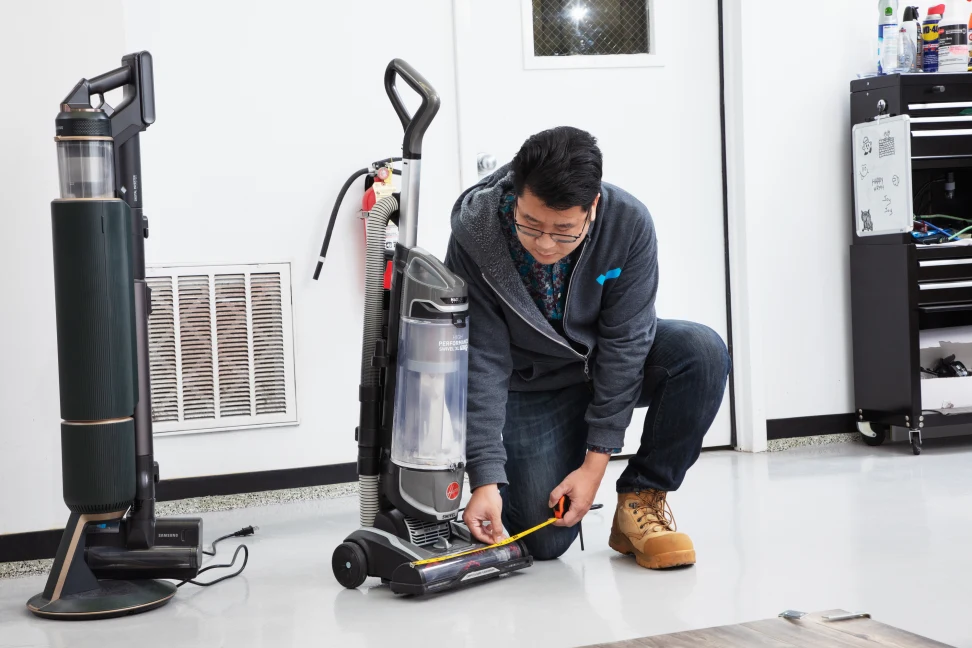
The smell is likely coming from within the vacuum. There might be a blockage in the hose, or perhaps residue left over in the canister, so it’s worth giving the whole vacuum a deep clean.
First, switch it off and unplug it (if corded), then take it apart and remove any visible blockages. Blockages can form around the entrance to the body as well as the top of the bag (if bagged), so it’s a good idea to check here once the hose is removed. You’ll also need to cut away any hair that’s wrapped around the brush bar; this will impair the pickup rate. Some vacuums come with an indent, so you can slide a pair of scissors along the bar to make things easier.
Clean the body
Now that it’s free of blockages, it’s time to clean what remains. All non-electrical attachments, such as the crevice tool, dusting brush and the hose, can generally be washed in warm, soapy water. Even the floor head may be suitable for rinsing in warm water, so long as there’s no electrical components. Check your manual first if you’re unsure.
It’s also important that you remove and clean the inside of the canister with soapy water if you have a bagless vacuum – lots of residue can collect here. The exterior of the vacuum can be wiped with a cloth dampened with soapy water, but avoid any electrical parts once again. Leave all attachments to dry completely before replacing.
Clean the filter
A blocked filter often causes a vacuum to smell. That’s because the air is passing through the residue before it vents away. This blockage can also put strain on the appliance as it can’t vent effectively, which in turn makes it overheat and exacerbates the smell. Some vacuums are advanced enough to tell you when the filter needs cleaning, otherwise you’ll know when the performance suffers.
Thankfully, these filters are often removable and washable, but you should check with your manual first to confirm. Some vacuums come with more than one filter and they’re not always washable and may need to be replaced instead (or just tapped against the bin to remove dust). Even the washable ones will need replacing eventually, so its worth checking this beforehand.
Follow the instructions to wash your filter. General directions include tapping the excess into the bin before rinsing it under cool water and gently wiping away the residue with your fingers, or a soft brush. Once the water runs clear, shake the filter over the sink to remove any final droplets, before lightly dabbing it with towels and then leaving it to dry in a well-ventilated spot. Only replace it once completely dry (wait at least 24 hours). Make sure it dries quickly, or this encourages a musty smell that can make things worse.
Vacuum up some bicarb
Bicarb is a brilliant deodoriser. That’s because it actively neutralises both acidic and alkaline odour molecules in the air. For this reason, we can use it to remedy a smelly fridge, wardrobe or bathroom. But it can come to the rescue for your vacuum cleaner, too.
By sprinkling a small amount over your carpets and vacuuming it up, it can get to work on any smells inside your vacuum. This could be handy if the smell is coming from inside a vacuum bag. But you need to watch you don’t vacuum up too much. An excess of bicarb could contribute to a blockage, taking you back to square one again. It could also invalidate your warranty, so it’s worth checking if your model is suitable for this with the brand first. You could always add it directly to the bag for bagged models.